WD My Cloud EX2 Ultra offline? How I restored access on Orbi
How I restored access to a WD My Cloud EX2 Ultra, checked a stale Orbi address, and started Time Machine—with backup verification still needed before a Mac erase.
A short reset restored access, and the router’s web interface showed the NAS on the current network while the mobile app still showed an old address. Time Machine began backing up. My notes do not establish a completed backup, successful restore, or clean macOS installation.
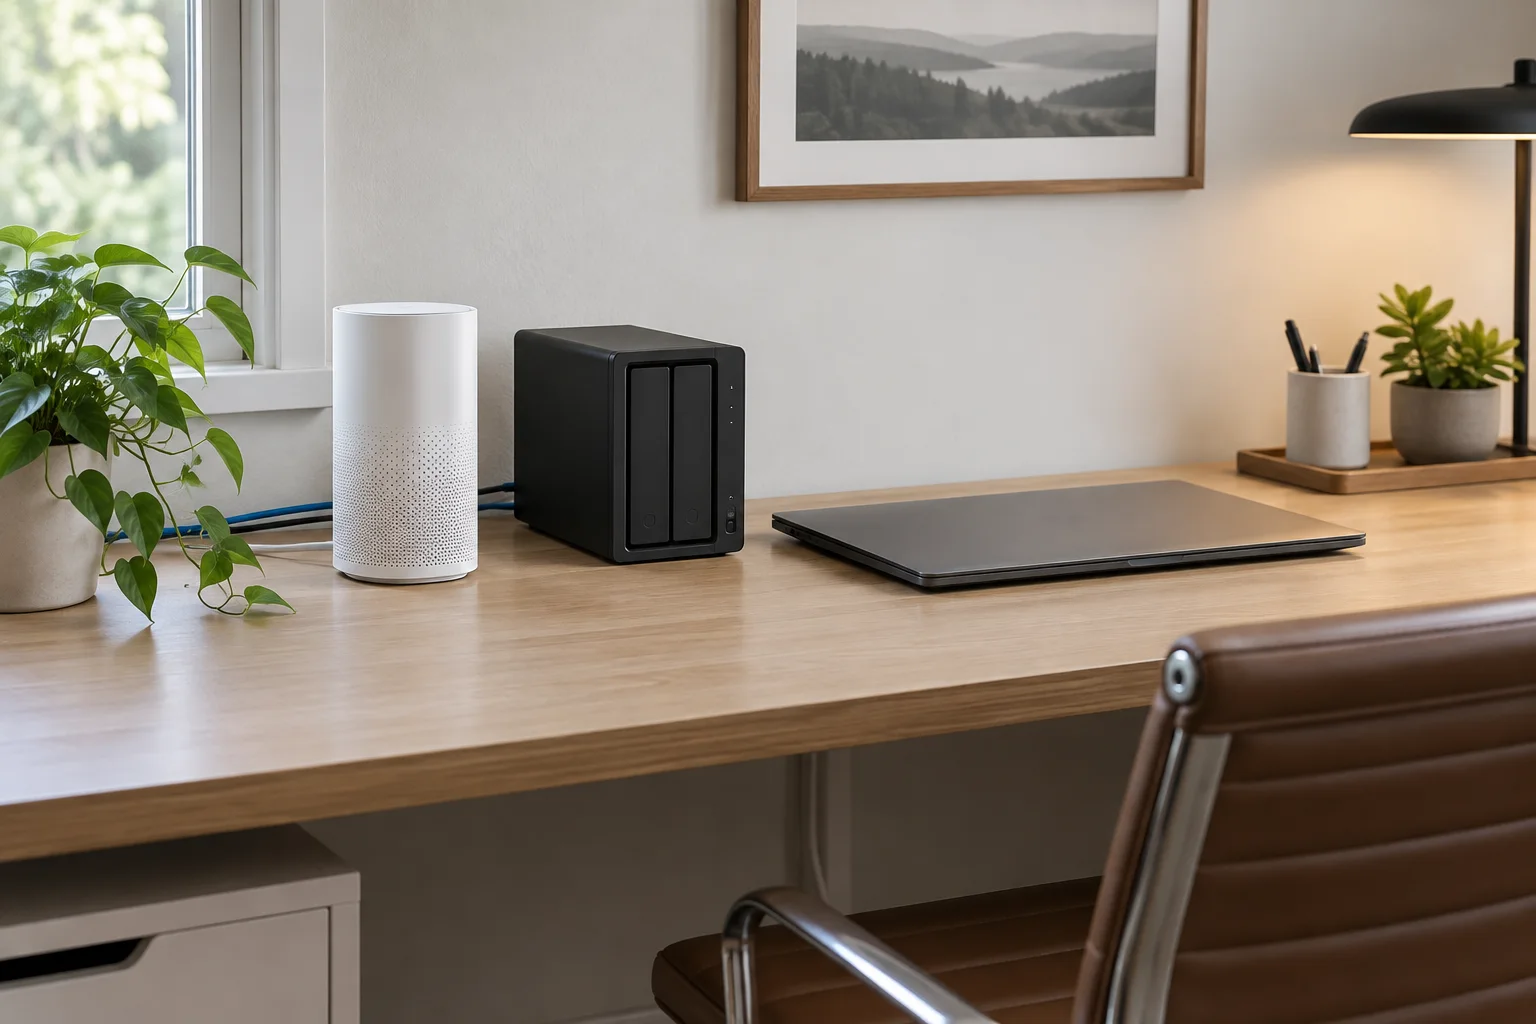
My WD My Cloud EX2 Ultra appeared offline, with a blinking blue power light. At first only one drive light was on; later both were on, but cloud access still reported the NAS offline. Because the files mattered, I avoided drive removal, factory erases, and repeated power cycling.
The useful clue was an address that did not match the current home network. After a short reset, access returned. The Orbi app still displayed an old address, while the router’s web interface showed the current one. From there I was able to select the NAS in Time Machine and start a backup.
The first clue: an address from a different network
The Orbi app listed the NAS on a different local subnet from the phone and router. With the subnet mask in this setup, they would not normally communicate directly without routing between those networks.
That made network configuration a plausible cause, but an app listing could also be stale. An offline cloud status alone did not tell me whether the disks had failed, the NAS had lost local connectivity, or only remote access was affected.
| Check | Why it helps |
|---|---|
| Power and drive indicators | Compare the pattern with the exact model’s documentation; lights alone do not prove data integrity. |
| Ethernet cable and port | Confirm the local connection exists before assuming a storage fault. |
| Computer’s IP, subnet mask, and default gateway | Establish which network the computer is actually using. |
| Router’s current device list | Compare the NAS address with the current network, not just a saved app record. |
| Local NAS access versus cloud access | Separate a local connectivity problem from a remote-service problem. |
Use your own router’s current address and the subnet mask when making the comparison. The private addresses and device name from my setup are intentionally omitted.
What the short reset changed
I held the rear reset button for about four seconds, released it, and allowed the NAS to restart. Access returned afterward. I did not remove either drive or perform a factory erase.
For My Cloud OS 5, WD’s short-reset instructions say that the powered-on four-second reset returns networking to DHCP and resets the administrator password, requiring a new password. The changed administrator username is not reset by this short procedure. WD describes it as non-data-destructive.
That means it is not just a network refresh: administrator access changes too. Confirm your model and operating system before using a reset procedure, allow the restart to finish, and set a strong administrator password afterward. WD’s guidance says the restart can take up to five minutes. A forty-second reset has broader configuration effects and is not interchangeable with the short reset.
Remote access returning was encouraging, but it did not prove both drives were healthy or that every stored file was intact. If the drive reports errors or important data remains inaccessible, stop making changes and seek storage support.
The Orbi app was still showing the old address
After access returned, the mobile app continued to show the earlier address. I signed in to the router’s web interface and checked its Attached Devices information. There the NAS appeared with an address on the current network.
That comparison explained the mismatch in this incident. I would verify the current router listing before repeating a reset just because the mobile app has not refreshed.
My broader Orbi troubleshooting and offline-device guide explains why saved records, current connections, and access-control rules need to be considered separately.
Connecting the NAS and selecting it in Time Machine
My next goal was a backup before a clean macOS installation. I opened Finder → Go → Connect to Server, or Command-K, and connected over SMB using the NAS’s current address. The address format is:
smb://YOUR-NAS-NAME-OR-CURRENT-IPReplace the explanatory name above with the value from your own network. An ordinary SMB share appearing in Finder does not by itself establish that it is a supported Time Machine destination.
My existing backup share accepted a guest connection during troubleshooting. That is an observation, not a recommendation to expose backups publicly. Use the NAS’s documented Time Machine configuration, appropriate credentials, and restricted access. Apple specifies support for Time Machine over SMB; confirm that support for your NAS firmware and macOS version.
- Open System Settings → General → Time Machine on a recent macOS version.
- Select the NAS’s supported backup destination and supply its credentials if prompted.
- Review available space, backup settings, and any encryption option. Store an encryption password securely if used.
- Open Options and review exclusions before starting.
- Let Time Machine manage the backup rather than dragging files into its backup structure.
I found a shared folder in the exclusion list and removed it. The interface then showed no user-listed exclusions. That was worth checking, but it was not proof that every file on the computer would be included: system exclusions, cloud-only files, and inaccessible data can still matter.
Time Machine moved from preparing to an active progress bar. I kept the Mac on power, the NAS online, and the network connected. A first network backup can take hours. A stable wired connection is useful when practical, although speed depends on the whole path and the amount of data.
The checks still needed before a clean installation
- Wait for Time Machine to show a completed backup with a recent timestamp and no error.
- Browse the backup and confirm the important folders and libraries are present.
- Restore a small selection of important files to a separate location and open them.
- For a network backup, use Apple’s verification option where available: hold Option while opening the Time Machine menu and choose Verify Backups.
- Check separately for files available only in a cloud service and any data outside the usual user folders.
- Keep a second independent copy of irreplaceable data before erasing the original.
Apple’s network-backup verification guidance provides the current verification controls. A completed timestamp or an empty exclusion list is useful evidence, but testing access to the files is a separate step.
Time Machine preserves user data and can support migration to a reinstalled Mac. It is not a bootable disk-image clone of macOS. Follow Apple’s current reinstall and migration instructions for the specific Mac rather than assuming that selecting the NAS completes the whole recovery plan.
Common questions
Did the blinking light mean the NAS had failed?
Not in itself. Network access returned in my case. Indicator patterns and disk health still need to be checked independently.
Does the short reset erase the files?
WD describes the applicable OS 5 pin reset as non-data-destructive, but it changes administrator and network settings. Confirm the exact procedure and keep backups; do not substitute a factory-erase option.
Why did the app and web interface disagree?
In my incident the app retained the old address while the router’s web interface showed current information. That does not mean every discrepancy has the same cause.
Was the Mac ready to erase?
The recorded outcome was restored NAS access and a started backup. Completion and recovery verification remained necessary.
Sources and verification
Official guidance checked September 9, 2026. Menus, software, and manufacturer instructions can change.
Adapted from the owner’s supplied notes, with personal identifiers omitted. Confirmed observations, suggested next steps, and manufacturer guidance are distinguished. Affiliate and advertising disclosure.